
I hold the following truths to be self-evident:
- All 21st-century learners are endowed with certain classroom rights.
- The universal access to robotics, coding, and the pursuit of Computer Science is among them.
Luckily, other government and non-government institutions share my sentiment. For instance, California recently adopted the K – 12 Computer Science Standards. And other states are developing their own standards to support educators as the next wave of disrupting technology hits the mainstream market.
This shift in policy is a step in the right direction.
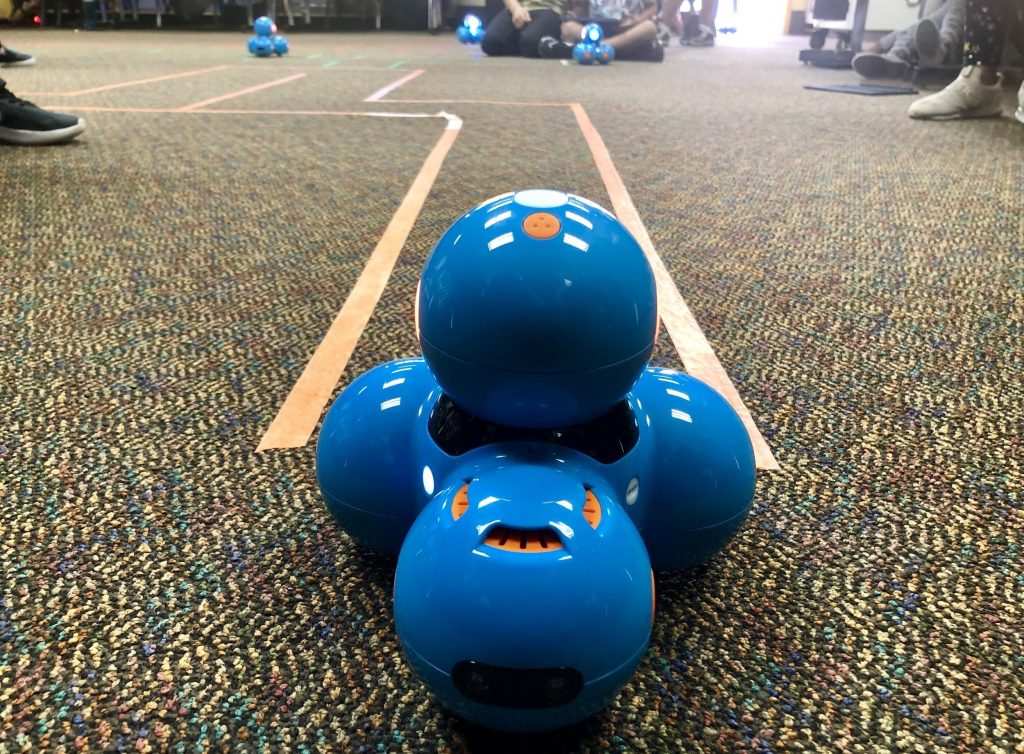
If educational standards represent the “what,” then robotic devices like Dash and Dot create a channel for the “how.” This is exactly why you beam with excitement as you disperse these robots among your students. However, a couple of items still require consideration.
Access Points
Think about access points from the perspectives of teachers and students, so accessibility doesn’t become a deterrent. In terms of equity, it’s one thing to not have access to technology. It’s another to have the access and still not embrace it. There may be other factors that perpetuate this type of dilemma, but my previous post can help to alleviate any fears that hold you back.
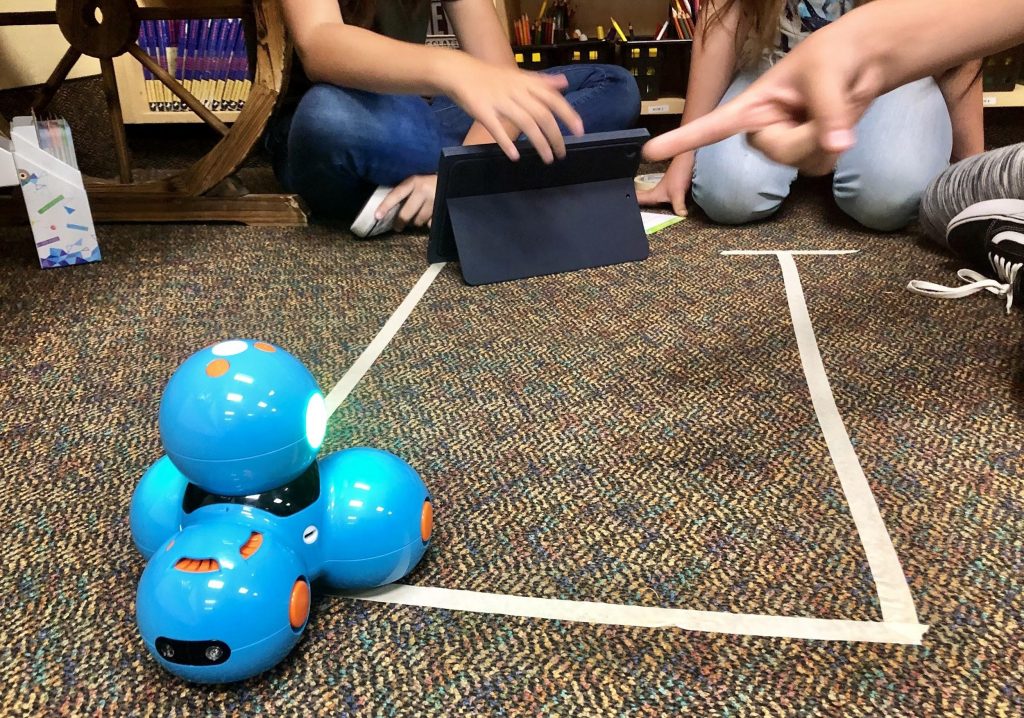
As you develop your own classroom procedures and routines for Dash and Dot, empower your students by directly involving them in the process. Hear their words, account for their ideas, and most importantly, allow them to actively shape the landscape of their learning environment.
There is a heap of added value when this exchange transpires. In addition, students will create solutions for problems that you’ve never even considered because they understand the end user better than you ever will.
My Plan (and How You Can Adapt It)
Handling
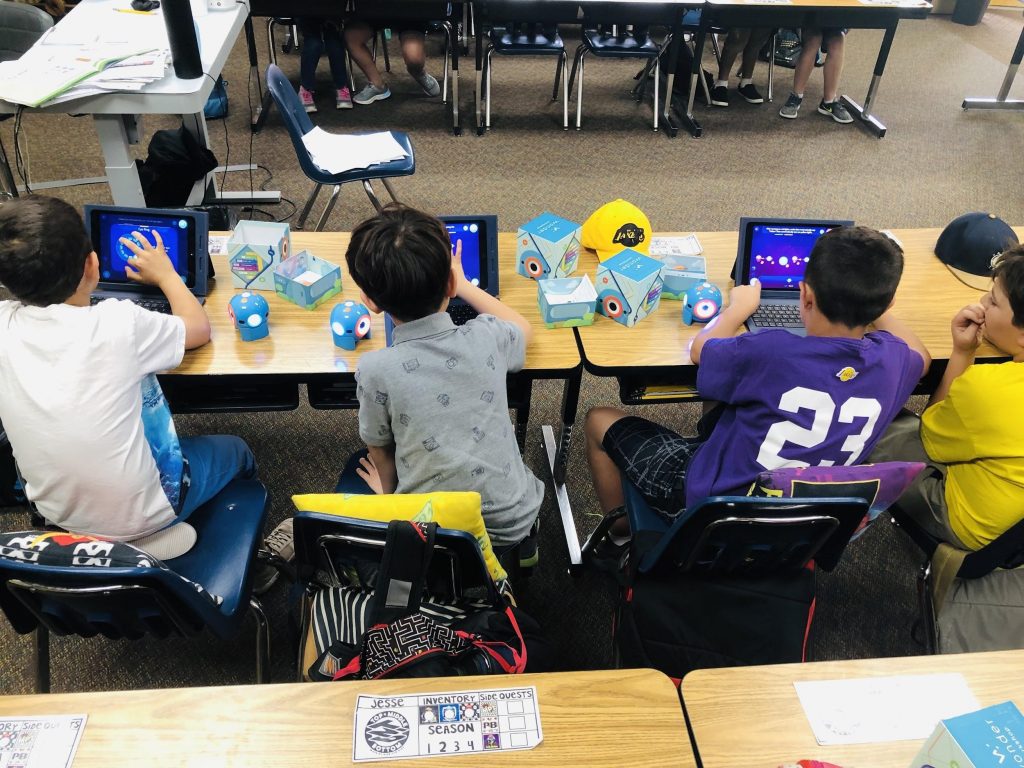
Students are in charge of using Dash and Dot in my classroom. We have set procedures that translate to increased efficiencies, safeguards, and more robot time. These procedures represent our own unique algorithm.
In fact, we programmed and wrote the code together. We had to troubleshoot and play with a couple of variables, but it now runs on a continuous loop without any errors. You’ll have to write your own algorithm based on the needs of your students, the amount of robots you have, etc.
If you need a nudge in the right direction, here are 5 great questions to answer.
- When will the robots be used (e.g., the time of day, the day of the week, etc.)? I plan this based on the subject I’m teaching and when I have access to iPads.
- Where will the robots be housed? Can students reach them?
- Who will store the robots/handle them?
- When/where will the robots be charged?
- How will students be arranged (e.g., individually, groups, etc.)?

Storage
I was able to consolidate the resources and tools in my mobile makerspace to create a home for them, equipped with its very own locking system. That means I can sleep freely, knowing that Dash and Dot will not engage in any Ex Machina activity and attempt to forge an escape plan. Cabinets will work just as well. Just make sure the robots are at a student-friendly height.
Charging
For 6 or more robots, I recommend a USB charging station with multiple ports. Otherwise, you can always use the USB ports that are available on the devices you already own (e.g., laptops, projectors, etc.). This option will eliminate having to shell out any additional money, but it can be burdensome as robots will be strewn across the classroom. Every time my devices are used, I have a team of three students who ensure the robots are plugged in and fully charged for future use.
Creating Names
If you want to avoid general chaos, major headaches, and student riots, get some masking tape ASAP. Have students create individual names for all the robots on small pieces of the tape. After, simply place the pieces of tape on the bottom of each device. The robots are now ready.
Trial and Error
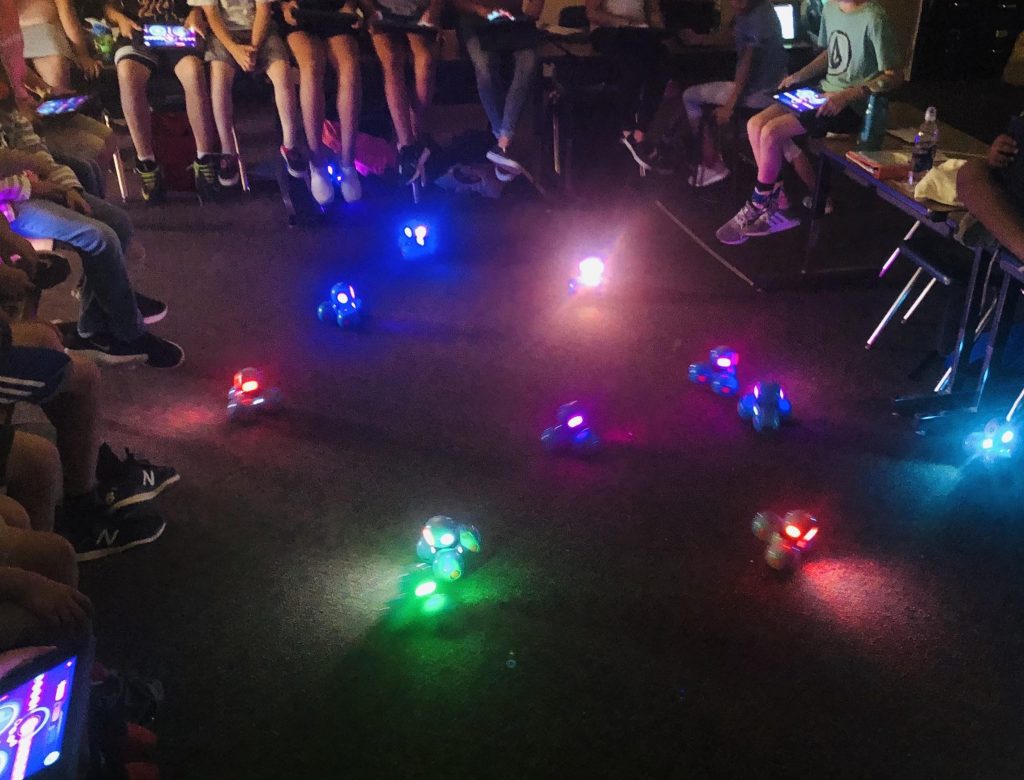
The first time I used the devices with my students, my goal was to get students to explore and familiarize themselves with the new technology. I wanted to use the Wonder app because I loved how students could go through structured quests or engage in free-play. After handing out the robots, all of them were turned on simultaneously.
The Wonder app was selected, and a set of onscreen instructions prompted an update process. I didn’t have the correct adaptors to plug Dash and Dot into the iPads to start the updating process though. Can you imagine hyping up 29 students to the point where the robots were in their hands and then simply putting a pause on everything?
My prayers were answered after a couple of minutes of anxiously waiting and acting like I knew where this was going. Suddenly, the devices magically started updating without having to be physically connected.
This is when the story gets really fun though. Remember, the tape I mentioned earlier? Yeah, I discovered that hack only after this experience. I had 24 devices turned on, but none of them had names.
For the next 15 minutes, I heard the following 2 sentences on a continuous loop: “Mr. Arevalo, I’m controlling the device, but nothing is happening.” and “Mr. Arevalo, I’m not controlling my device, and it keeps moving and changing colors.”
We eventually settled the ruckus, but let my story be an example of what not to do. Just remember “Access, Not Experts” and you’ll be fine! Stay tuned for my next post as I explore cross-curricular lesson integration, design thinking, and differentiating the learning process for students, by students!
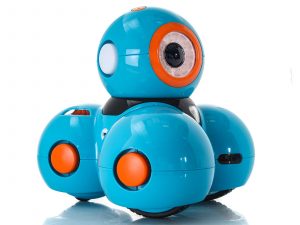
Check out Dash for yourself here:


Leave A Comment